

A Halloween Garland tutorial..kind of. No mid-construction pictures but you won't need them. It's super easy and can be done without a Silhouette Cameo.
What you'll need:
1. Clear vinyl (aka clear plastic like the kind of zippered plastic bags comforters or pillows come in. You can cut those up too) I don't know how much i used unfortunately. I had a big piece of it and forgot to measure before hand. I would say less than a yard though.
2. Two packages of extra-wide double fold bias tape in black (I used one package for the happy part and one for the Halloween part)
3. Black vinyl for the silhouette machine. I know you can use this without a machine (Jessica from Created Blissfully has a tutorial on using it without a machine here).
Instructions below.


Instructions:
1. Cut from plastic:16 triangles (I used a cat and a spider on either side of happy) @ (approximately) 7.5" at the widest part and 6" from middle of widest part to tip of triangle (this can be whatever size you want actually).
2. Cut out letters from vinyl making sure the size of them will fit on the triangles. I made all my letters in reverse so I could put them on the back side of the triangles. So if you look at the triangle above, that spider is adhered to the other side of the triangle. I did this because it would be hanging outside and I just thought it would fare better in the weather.
3. Layout your triangles and sandwich in between the bias tape.
4. Pin in place and sew.
Ask me if you have any questions.
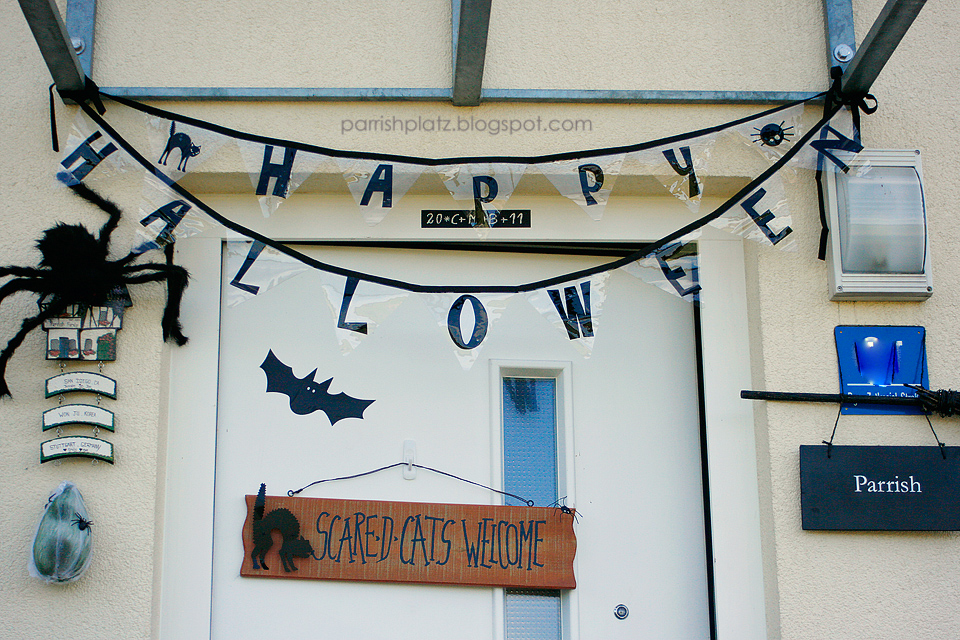
*
Below is just pictures of the house decorated.


The girls are going to be girl gnomes for Halloween.
I just need to make the costumes...


